Gutter Installation Tools - Professional Equipment for Quality Installs
Suwanee homeowners along Peachtree Industrial and near Suwanee Town Center know Georgia weather tests every gutter system -- heavy summer storms, dense pollen seasons, and massive fall leaf drops from Gwinnett County's mature tree canopy. Whether you're upgrading to seamless aluminum gutters or installing a complete system on new construction, these professional-grade tools deliver the precision needed for durable, trouble-free gutter installations.

🔧 Sealants & Adhesives
Watertight joints are essential for leak-free gutter systems. Quality gutter sealants flex with temperature changes, resist UV degradation, and maintain adhesion through Georgia's extreme weather cycles. Apply at all joints, end caps, and outlet connections for a professional result.
| Picture | Product | Type | Key Features | Shop |
|---|---|---|---|---|
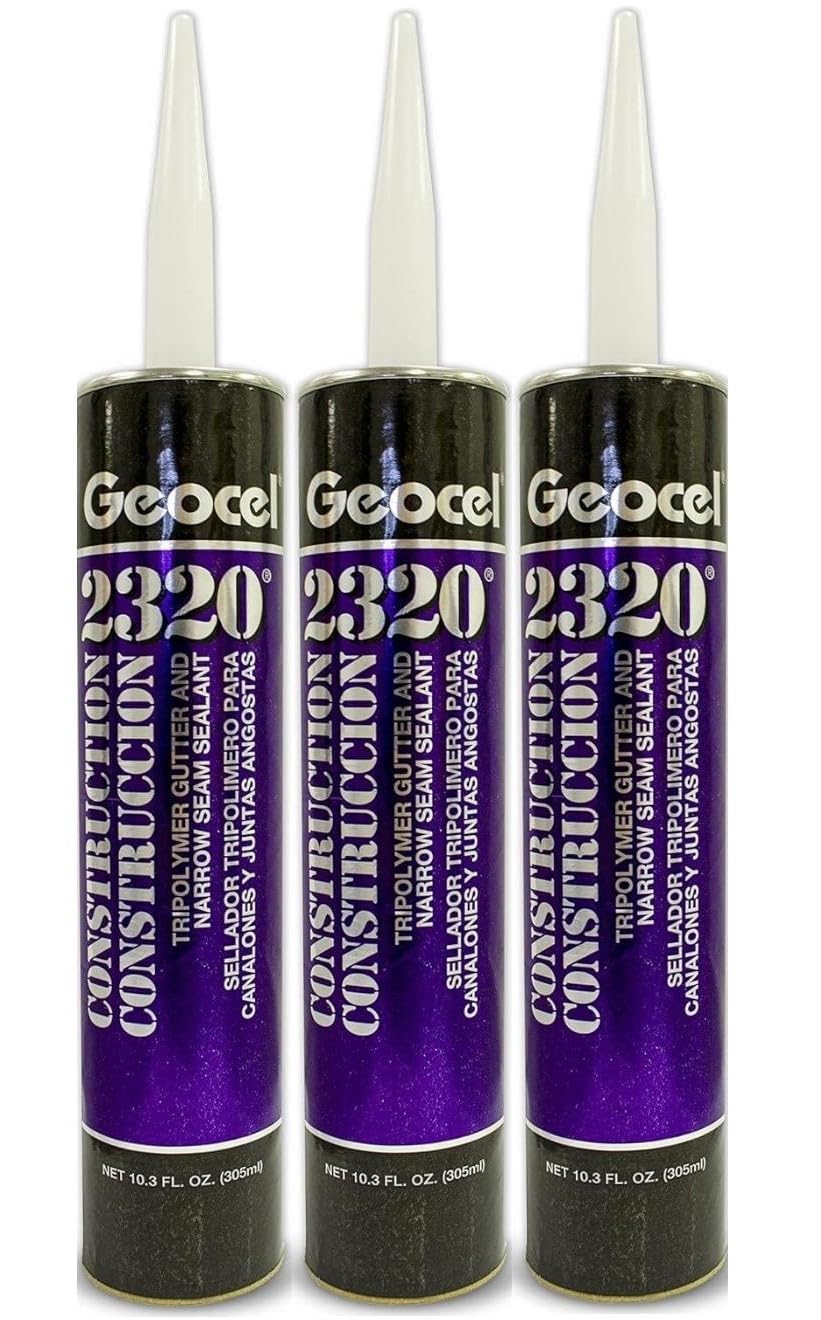 |
GEOCEL Gutter Seal | Clear sealant | Dries clear, Flexible, Works on damp surfaces | Buy on Amazon |
 |
DAP Gutter & Flashing Sealant | Polyurethane | 25-year durability, Paintable, UV resistant | Buy on Amazon |
 |
Professional Caulk Gun | Application | Smooth trigger, Drip-free, Durable | Buy on Amazon |
💡 Pro Tip: Apply sealant to clean, dry surfaces. Run a continuous bead inside joints before assembly, then seal the exterior seam for double protection.
Browse All: Gutter Sealants on Amazon
📐 Hangers & Mounting Hardware
Proper hanger selection and spacing determines long-term gutter performance. Hidden hangers provide clean appearance and strong support. Space hangers 18-24 inches apart for Suwanee's heavy rainfall -- closer spacing prevents sagging when gutters fill during storms that roll through Gwinnett County.
| Picture | Product | Type | Key Features | Shop |
|---|---|---|---|---|
 |
Hidden Gutter Hangers w/Screws | Mounting | Includes fasteners, 5" & 6" K-style | Buy on Amazon |
 |
Adjustable Fascia Brackets | Mounting | Slope adjustment, Heavy duty | Buy on Amazon |
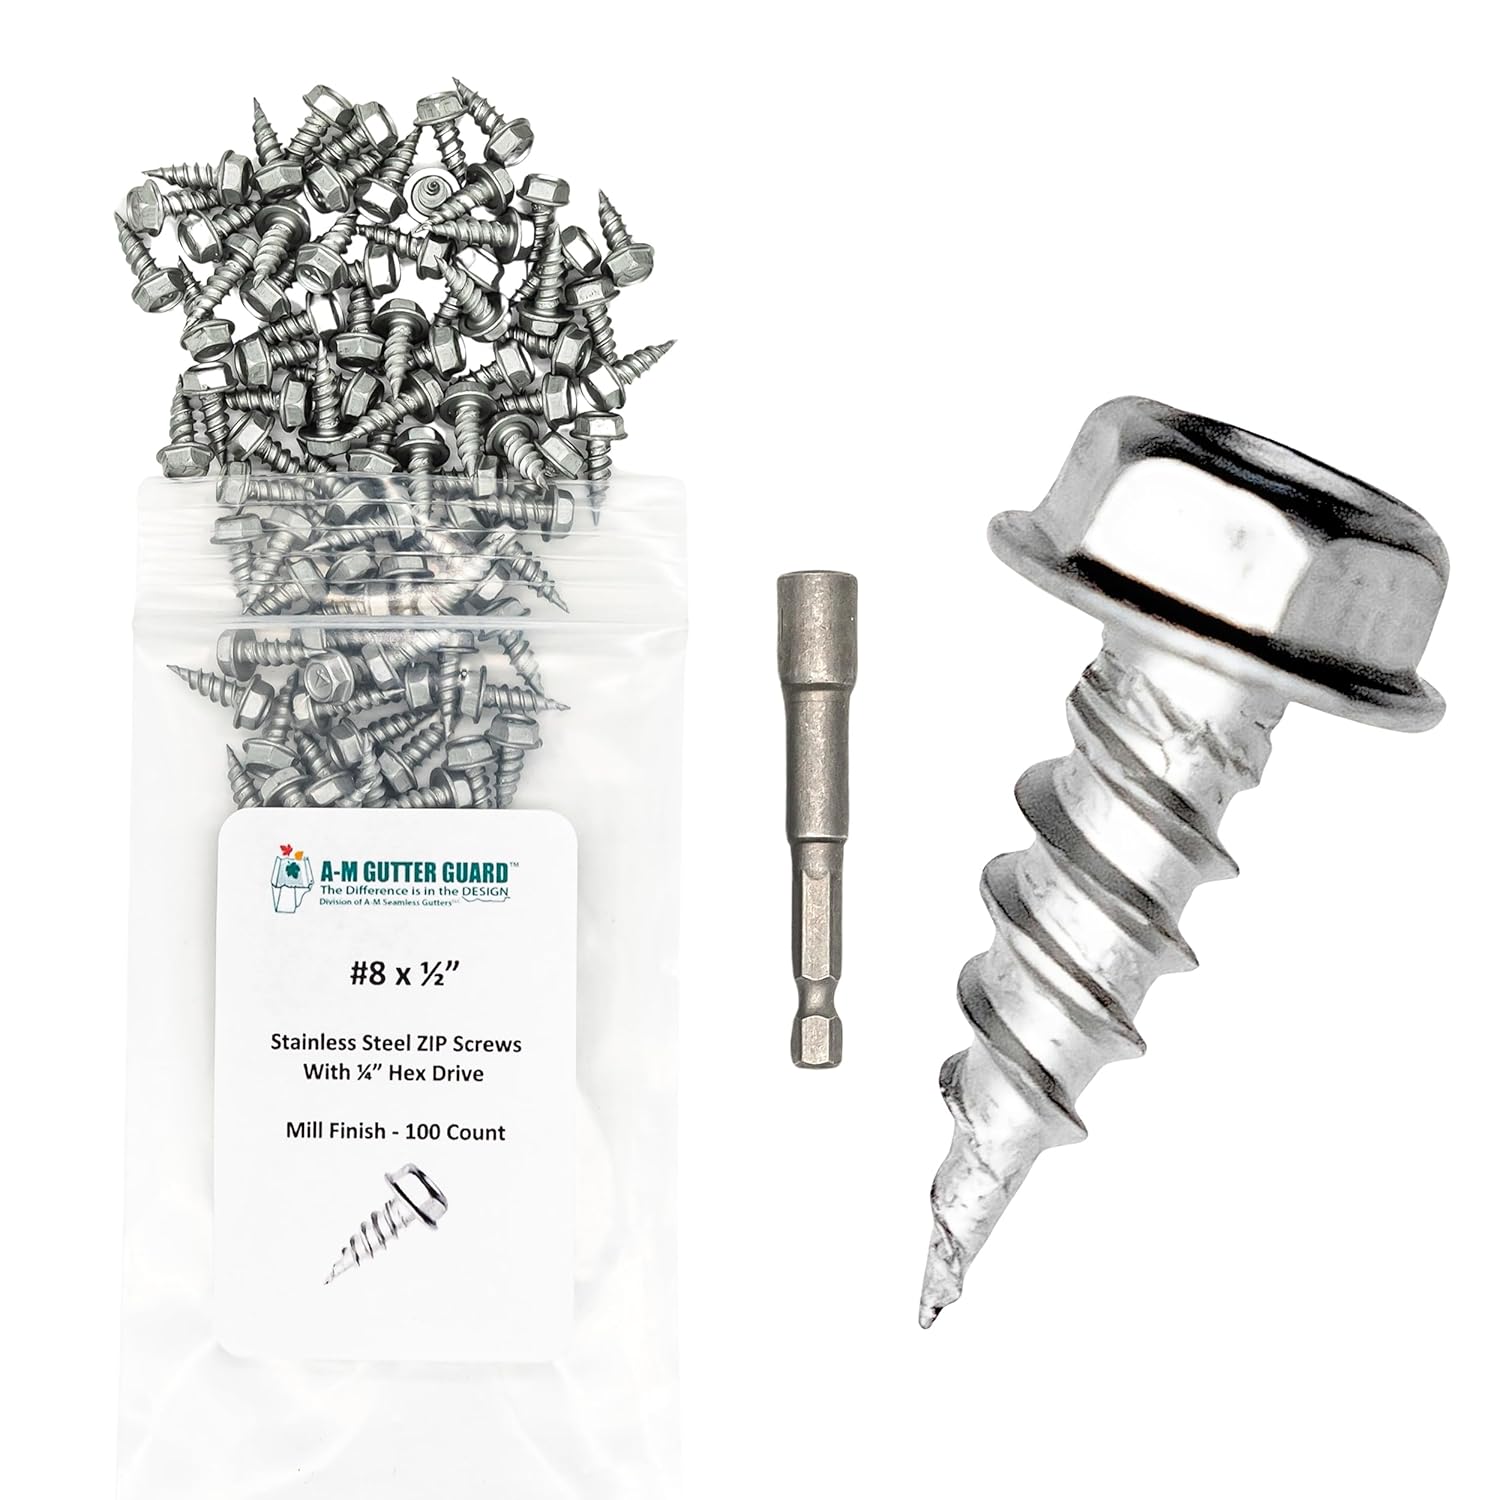 |
Stainless Steel Gutter Screws | Fasteners | Rust-proof, Hex head, Self-tapping | Buy on Amazon |
💡 Pro Tip: Establish proper slope first -- 1/4 inch drop per 10 feet toward downspouts. Snap a chalk line for consistent hanger placement.
Browse All: Gutter Hangers on Amazon
✂️ Cutting & Shaping Tools
Clean cuts and proper shaping ensure professional results and watertight connections. Aviation snips handle aluminum gutters and downspouts, while specialized crimpers create connections that nest properly. Quality cutting tools reduce waste and improve installation speed.
| Picture | Product | Type | Key Features | Shop |
|---|---|---|---|---|
 |
Aviation Snips Set | Cutting | Left, right, straight - color coded | Buy on Amazon |
 |
Malco 5-Blade Downspout Crimper | Crimping | Clean crimps, Professional fit | Buy on Amazon |
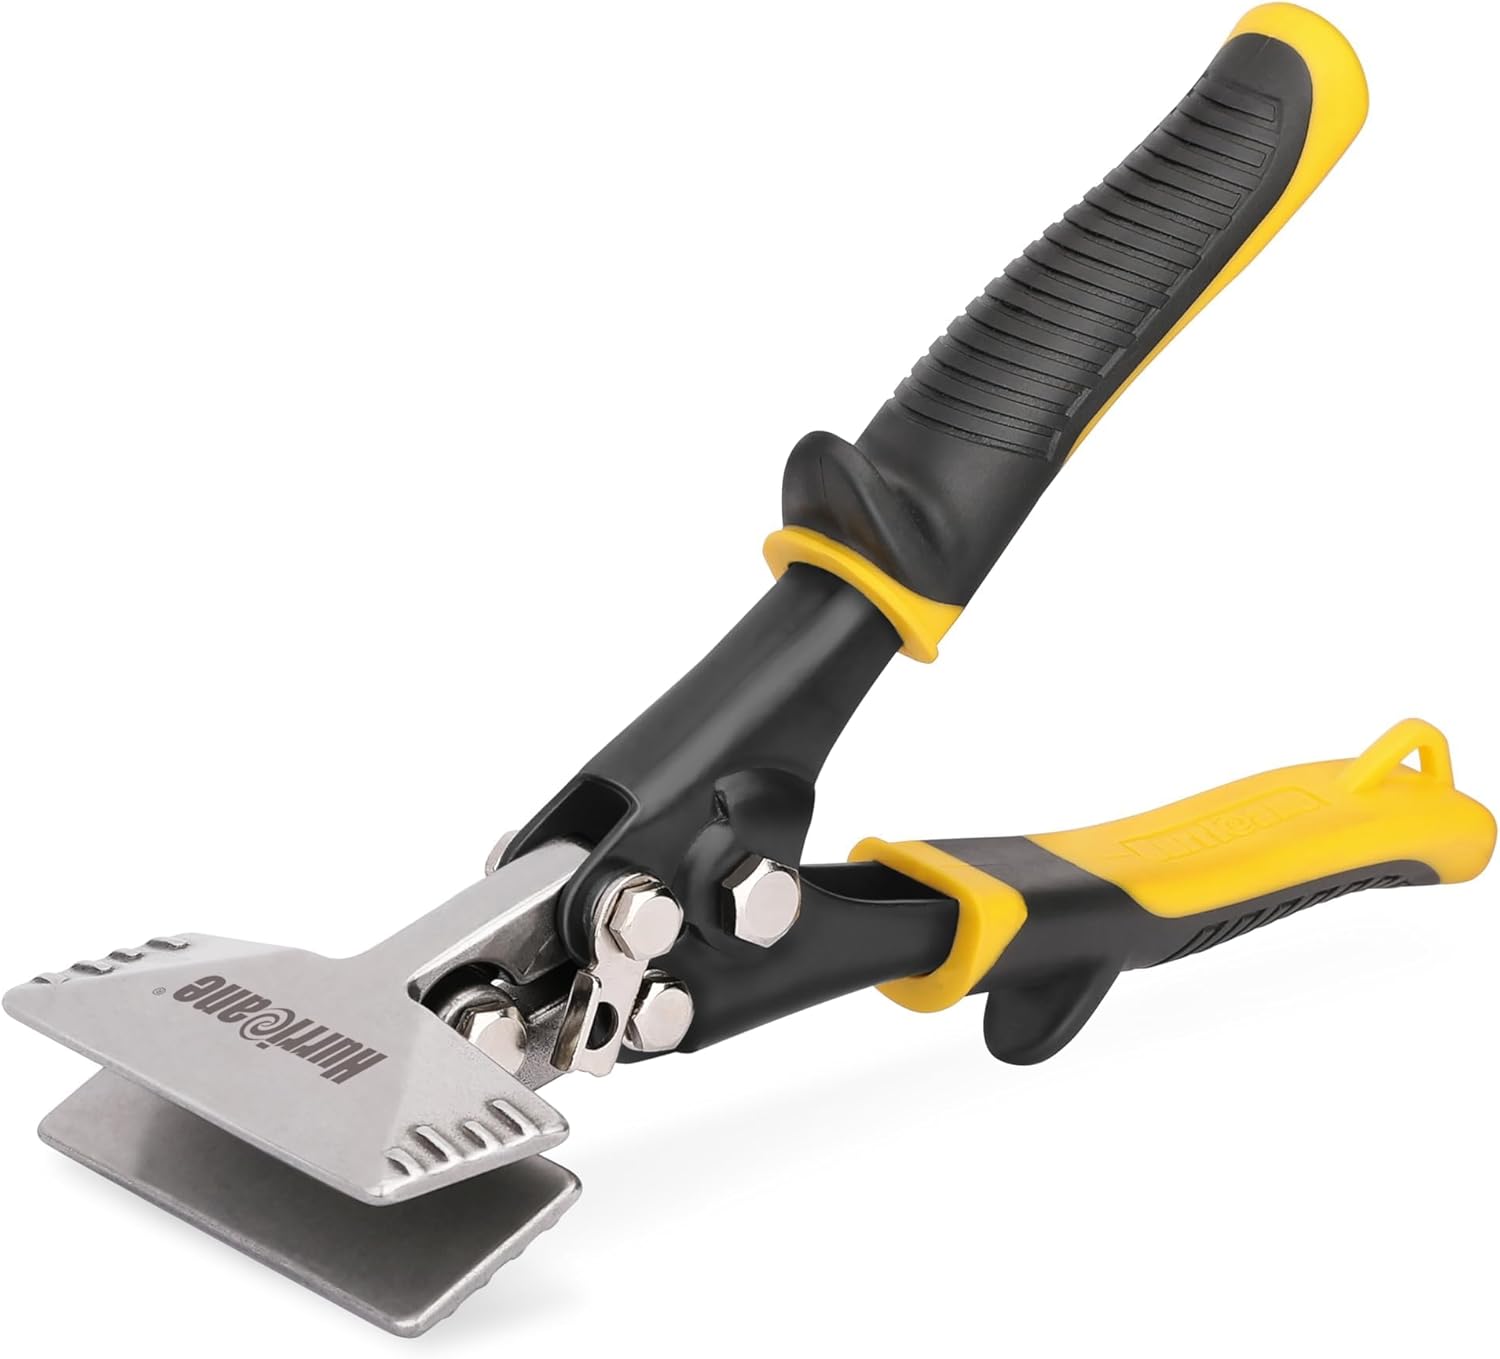 |
Sheet Metal Hand Seamer | Bending | Creates bends, Flattens seams | Buy on Amazon |
Browse All: Gutter Cutting Tools on Amazon
🔩 Riveting & Fastening
Rivets provide the strongest, most permanent connections for gutter joints and downspout outlets. Unlike screws, rivets won't back out over time and create flush surfaces that don't impede water flow. A quality rivet gun handles installations quickly and consistently.
| Picture | Product | Type | Key Features | Shop |
|---|---|---|---|---|
 |
Heavy-Duty Pop Rivet Gun | Fastening | Multiple nose pieces, Ergonomic grip | Buy on Amazon |
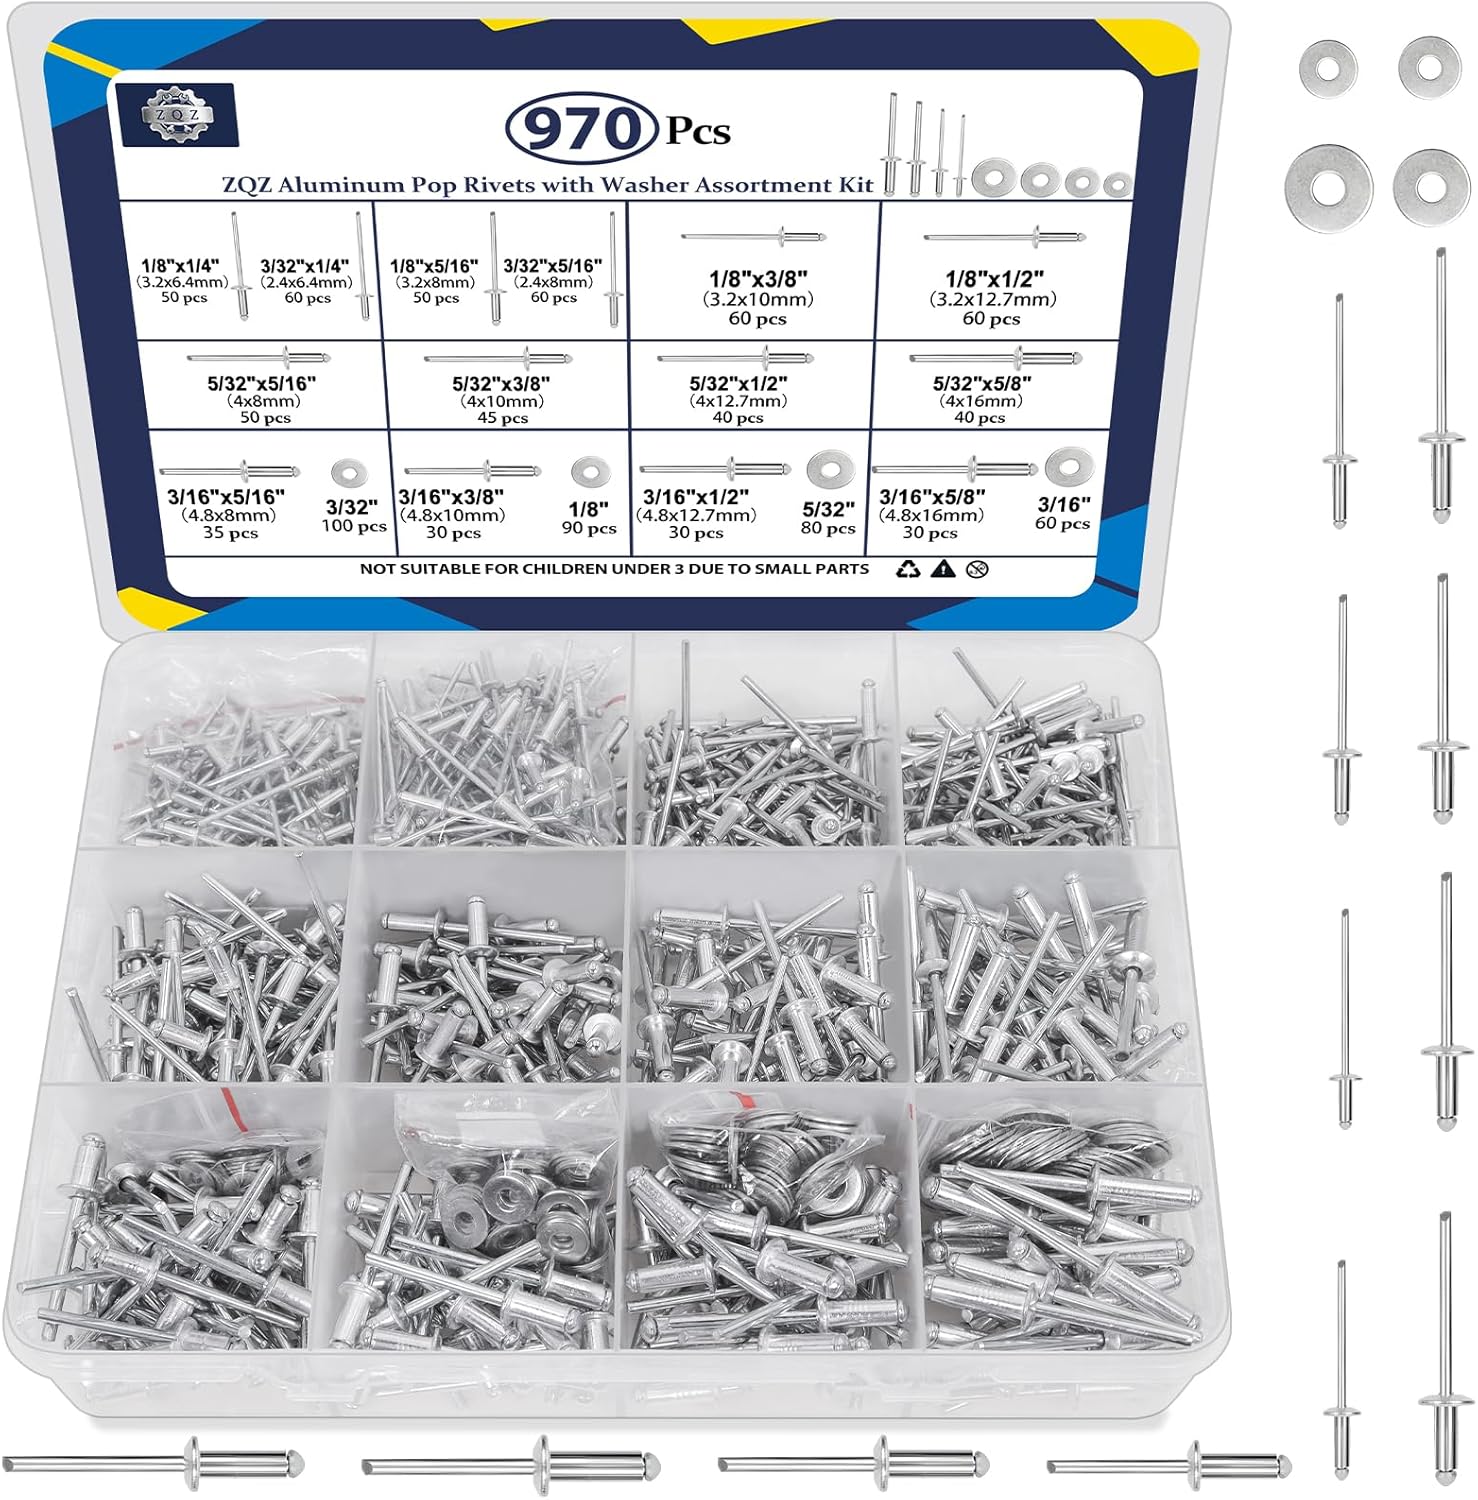 |
Aluminum Pop Rivets 1/8" | Fasteners | Corrosion resistant, Standard size | Buy on Amazon |
 |
Rivet Drill Bit Set | Prep tool | Matches rivet sizes, Clean holes | Buy on Amazon |
💡 Pro Tip: Use aluminum rivets with aluminum gutters to prevent galvanic corrosion. Drill rivet holes slightly larger than rivet diameter for easier installation.
Browse All: Rivet Tools on Amazon
📏 Layout & Measurement
Accurate measurement and layout ensure proper slope, alignment, and fit. A chalk line marks hanger positions, while levels verify slope toward downspouts. Taking time on layout prevents problems that are difficult to fix after installation.
| Picture | Product | Type | Key Features | Shop |
|---|---|---|---|---|
 |
Chalk Line Reel | Layout | 100ft line, High visibility chalk | Buy on Amazon |
 |
Magnetic Torpedo Level | Leveling | Slope measurement, Compact size | Buy on Amazon |
 |
25ft Tape Measure | Measuring | Easy read markings, Belt clip | Buy on Amazon |
Browse All: Measuring Tools on Amazon
❓ Frequently Asked Questions - Gutter Installation
Professional Gutter Installation Solutions
Ready to install gutters? Browse our recommended professional-grade crimpers, hangers, sealants, and installation equipment.