Roof Repair Tools - Professional Equipment for Suwanee, GA
When missing shingles, damaged flashing, or storm damage strikes your Suwanee home, having the right roof repair tools makes all the difference between a quick fix and a costly disaster. Gwinnett County's intense summer heat, sudden thunderstorms rolling along I-85, and occasional freeze-thaw cycles near Peachtree Industrial put unique demands on roofing materials. We've compiled the essential tools that professional roofers use daily - from pneumatic nailers that drive fasteners perfectly every time to pry bars designed specifically for shingle removal without damaging surrounding materials.

🔨 Roofing Nailers & Fastening Tools
The right nailer makes roof repair faster, safer, and more consistent. Coil roofing nailers are the professional standard - they hold 120+ nails per load and drive fasteners flush every time. For Suwanee's asphalt shingle roofs, you need nailers that handle 1" to 1-3/4" roofing nails. Pneumatic models offer the most power and reliability for full-day work, while cordless options provide mobility for quick repairs. Always use galvanized or stainless steel nails to prevent rust streaks on shingles - critical in Georgia's humid climate.
| Picture | Product | Type | Key Features | Shop |
|---|---|---|---|---|
 |
Bostitch Coil Roofing Nailer | Pneumatic | 120-nail magazine, Adjustable depth, Lightweight magnesium | Buy on Amazon |
 |
DeWalt 20V Cordless Roofing Nailer | Cordless | No compressor needed, 20V MAX battery, Sequential/bump modes | Buy on Amazon |
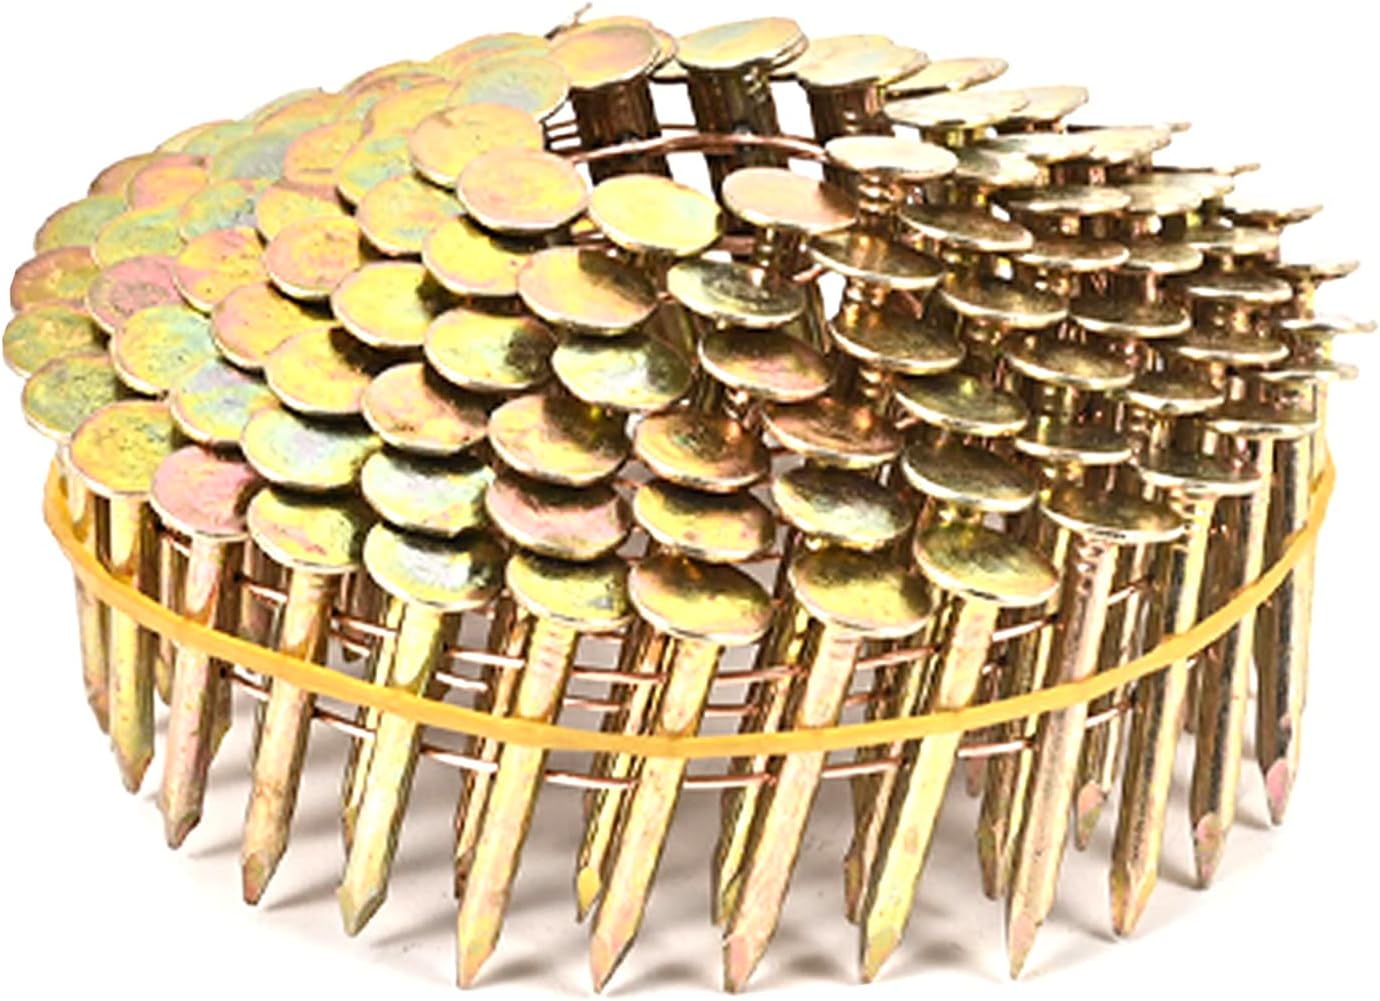 |
Galvanized Coil Roofing Nails | Fasteners | 1-1/4" length, Rust-resistant, Ring shank | Buy on Amazon |
💡 Pro Tip: Always test your nailer's depth setting on scrap material first - nails driven too deep tear through shingles, while nails too shallow won't hold in Georgia's wind storms
Browse All: Roofing Nailers on Amazon
🔧 Shingle Removal & Pry Tools
Removing damaged shingles without destroying surrounding materials requires the right tools. Shingle rippers (also called shingle shovels or tear-off tools) slide under shingles to cut nails and lift material quickly. For precision work around flashing, vents, and edges, a flat pry bar gives you controlled leverage. Quality tools have hardened steel edges that stay sharp through multiple jobs. The notched blade design on professional shingle rippers grabs nail shanks and pulls them cleanly - essential for reusing undamaged sheathing in repair work.
| Picture | Product | Type | Key Features | Shop |
|---|---|---|---|---|
 |
Professional Shingle Ripper | Removal | Notched blade, Fiberglass handle, Pulls nails clean | Buy on Amazon |
 |
Flat Pry Bar Set | Prying | Multiple sizes, Hardened steel, Precision edges | Buy on Amazon |
 |
Roof Tear-Off Shovel | Heavy Duty | Serrated edge, D-grip handle, Full roof removal | Buy on Amazon |
💡 Pro Tip: Work on cool mornings in summer - Georgia heat softens asphalt shingles, making them tear easily and stick to tools
Browse All: Shingle Removal Tools on Amazon
⛑️ Roofing Safety Equipment
Roof work is inherently dangerous - falls are the leading cause of construction fatalities. OSHA requires fall protection on roofs with a 6-foot or greater drop. Even for quick repairs, proper safety equipment is non-negotiable. A quality roofing harness distributes fall forces across your body, while roof anchors provide secure attachment points. Cougar paws or similar roofing shoes give you grip on steep pitches and hot shingles. In Suwanee's summer heat, add cooling gear and hydration - heat exhaustion on a roof can be deadly.
| Picture | Product | Type | Key Features | Shop |
|---|---|---|---|---|
 |
Complete Roofing Harness Kit | Fall Protection | Harness, lanyard, roof anchor, OSHA compliant | Buy on Amazon |
 |
Temporary Roof Anchor | Anchor Point | Reusable, 5000 lb rating, Easy install | Buy on Amazon |
 |
Cougar Paws Roofing Shoes | Footwear | Replaceable pads, Extreme grip, Steep pitch rated | Buy on Amazon |
 |
Adjustable Roof Jacks | Work Platform | Adjustable pitch, Holds scaffold plank, Steel construction | Buy on Amazon |
💡 Safety First: Never work on a wet roof - asphalt shingles become extremely slippery. Wait until surfaces are completely dry.
Browse All: Roofing Safety Equipment on Amazon
🧰 Roof Repair Sealants & Materials
The right sealants and repair materials can extend a roof's life by years. Roofing cement seals around flashings, vents, and small cracks. Roof coating products reflect UV rays and reduce cooling costs - especially valuable in Suwanee's hot summers near Suwanee Town Center. Self-adhesive ice and water shield provides waterproof protection in vulnerable areas like valleys and eaves. For emergency repairs, keep roof patch tape and tarps on hand - Georgia storms don't wait for perfect weather.
| Picture | Product | Type | Key Features | Shop |
|---|---|---|---|---|
 |
Plastic Roofing Cement | Sealant | All-weather, Stays flexible, Seals flashing | Buy on Amazon |
 |
Self-Adhesive Roof Repair Tape | Emergency | Instant seal, Waterproof, UV resistant | Buy on Amazon |
 |
Ice & Water Shield | Underlayment | Self-sealing, Waterproof membrane, Valleys/eaves | Buy on Amazon |
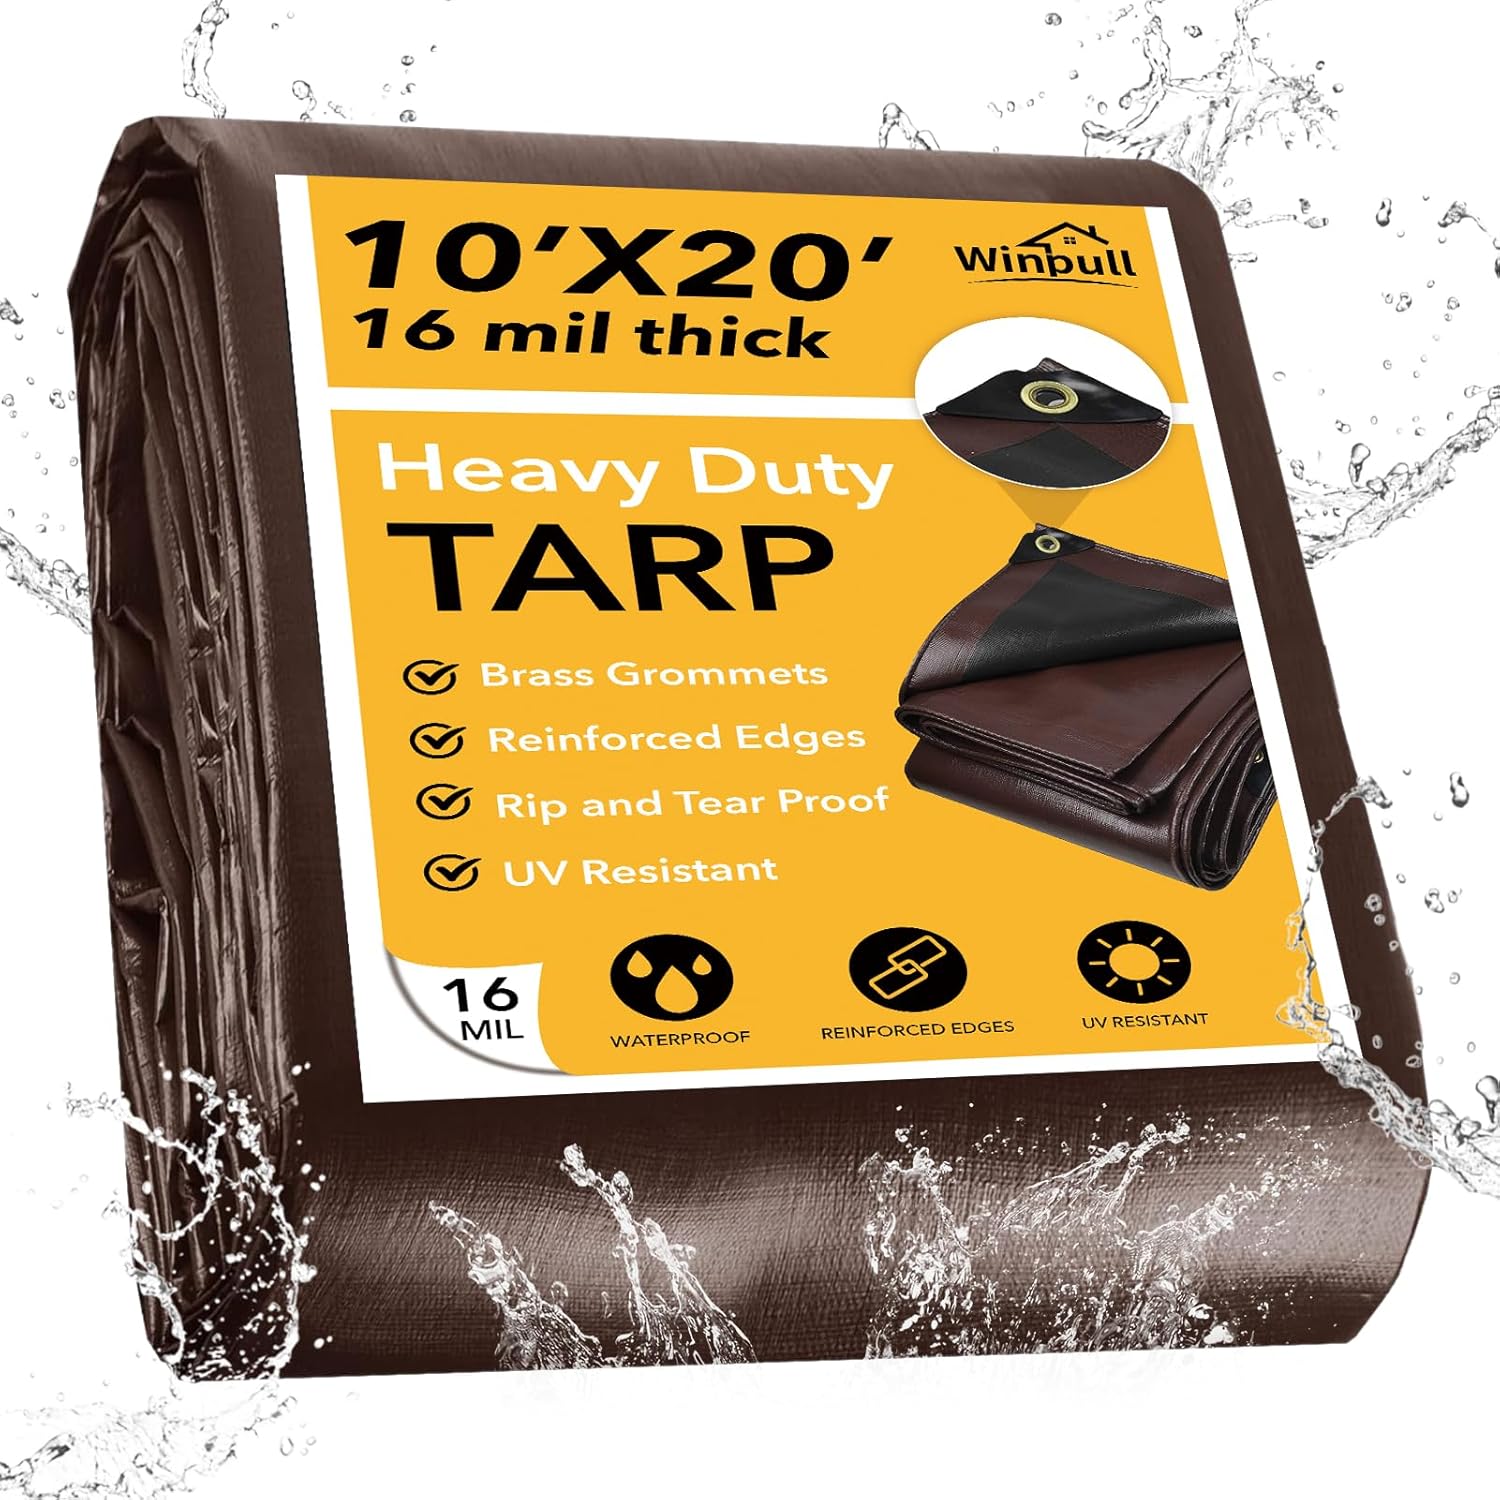 |
Heavy Duty Emergency Tarp | Temporary Cover | UV resistant, Reinforced grommets, Multiple sizes | Buy on Amazon |
💡 Pro Tip: Apply sealants when temperatures are between 50-80°F for best adhesion - avoid the hottest part of Georgia summer days
Browse All: Roof Repair Materials on Amazon
📐 Measuring & Cutting Tools
Accurate measurements and clean cuts are essential for professional-looking repairs. A chalk line helps align shingles in straight rows. Roofing utility knives with hook blades cut shingles cleanly without cutting into underlayment below. Tin snips handle flashing and metal edging. A quality tape measure with a magnetic tip helps when working alone. For larger projects, a circular saw with a demo blade cuts through multiple shingle layers during tear-off.
| Picture | Product | Type | Key Features | Shop |
|---|---|---|---|---|
 |
Roofing Utility Knife | Cutting | Hook blade, Quick change, Cuts shingles clean | Buy on Amazon |
 |
Chalk Line Reel | Layout | 100ft line, Refillable chalk, Fast rewind | Buy on Amazon |
 |
Aviation Tin Snips Set | Metal Cutting | Left, right, straight cuts, Color coded | Buy on Amazon |
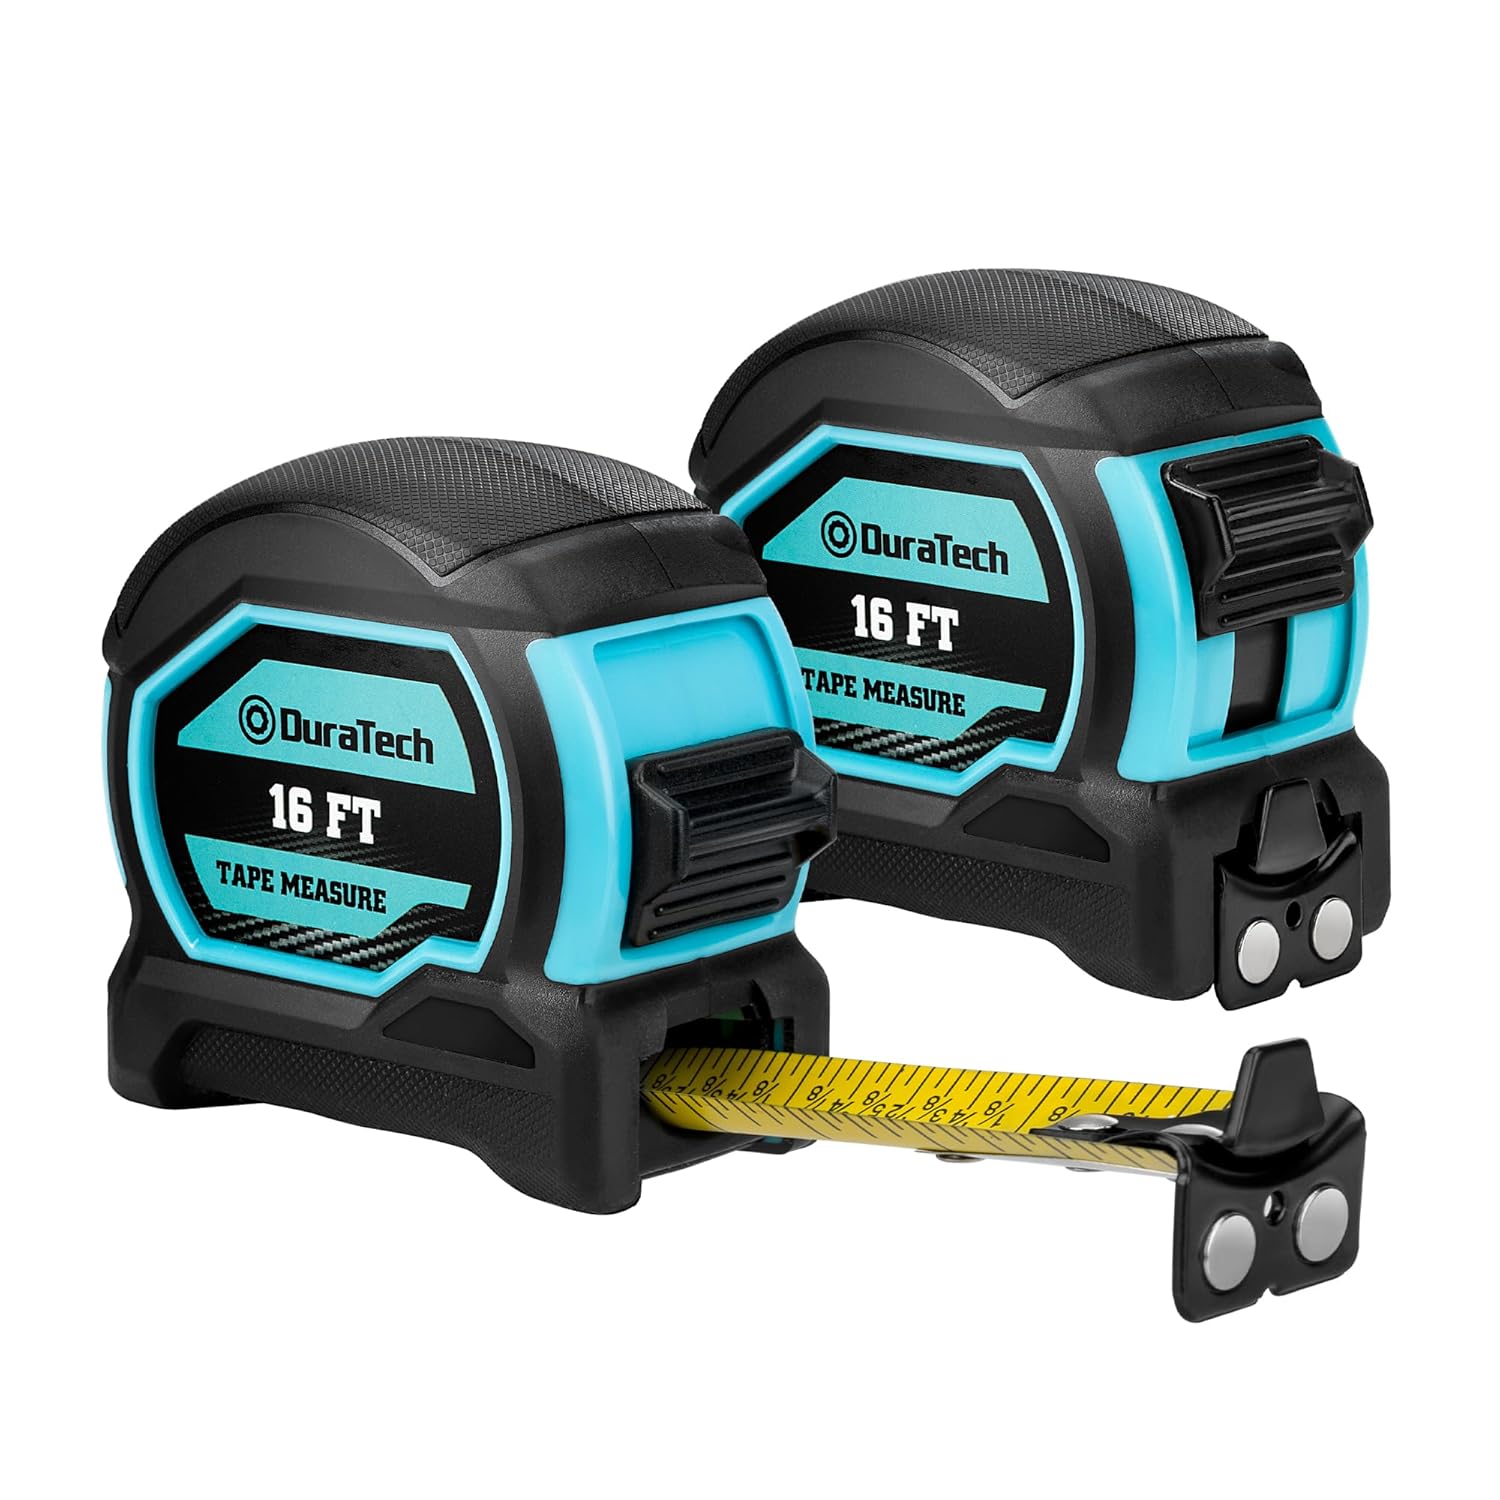 |
Magnetic Tape Measure 25ft | Measuring | Magnetic tip, Standout blade, Impact resistant | Buy on Amazon |
Browse All: Roofing Measuring Tools on Amazon
🧹 Cleanup & Debris Removal
Roof debris isn't just unsightly - loose nails are dangerous and organic material holds moisture that damages shingles. Magnetic sweepers quickly collect nails from lawns, driveways, and walkways. Debris chutes direct tear-off materials into dumpsters without scattering. Shop vacs with fine dust filters clean gutters and remove granule buildup. For complete projects, a debris containment system protects landscaping and speeds cleanup.
| Picture | Product | Type | Key Features | Shop |
|---|---|---|---|---|
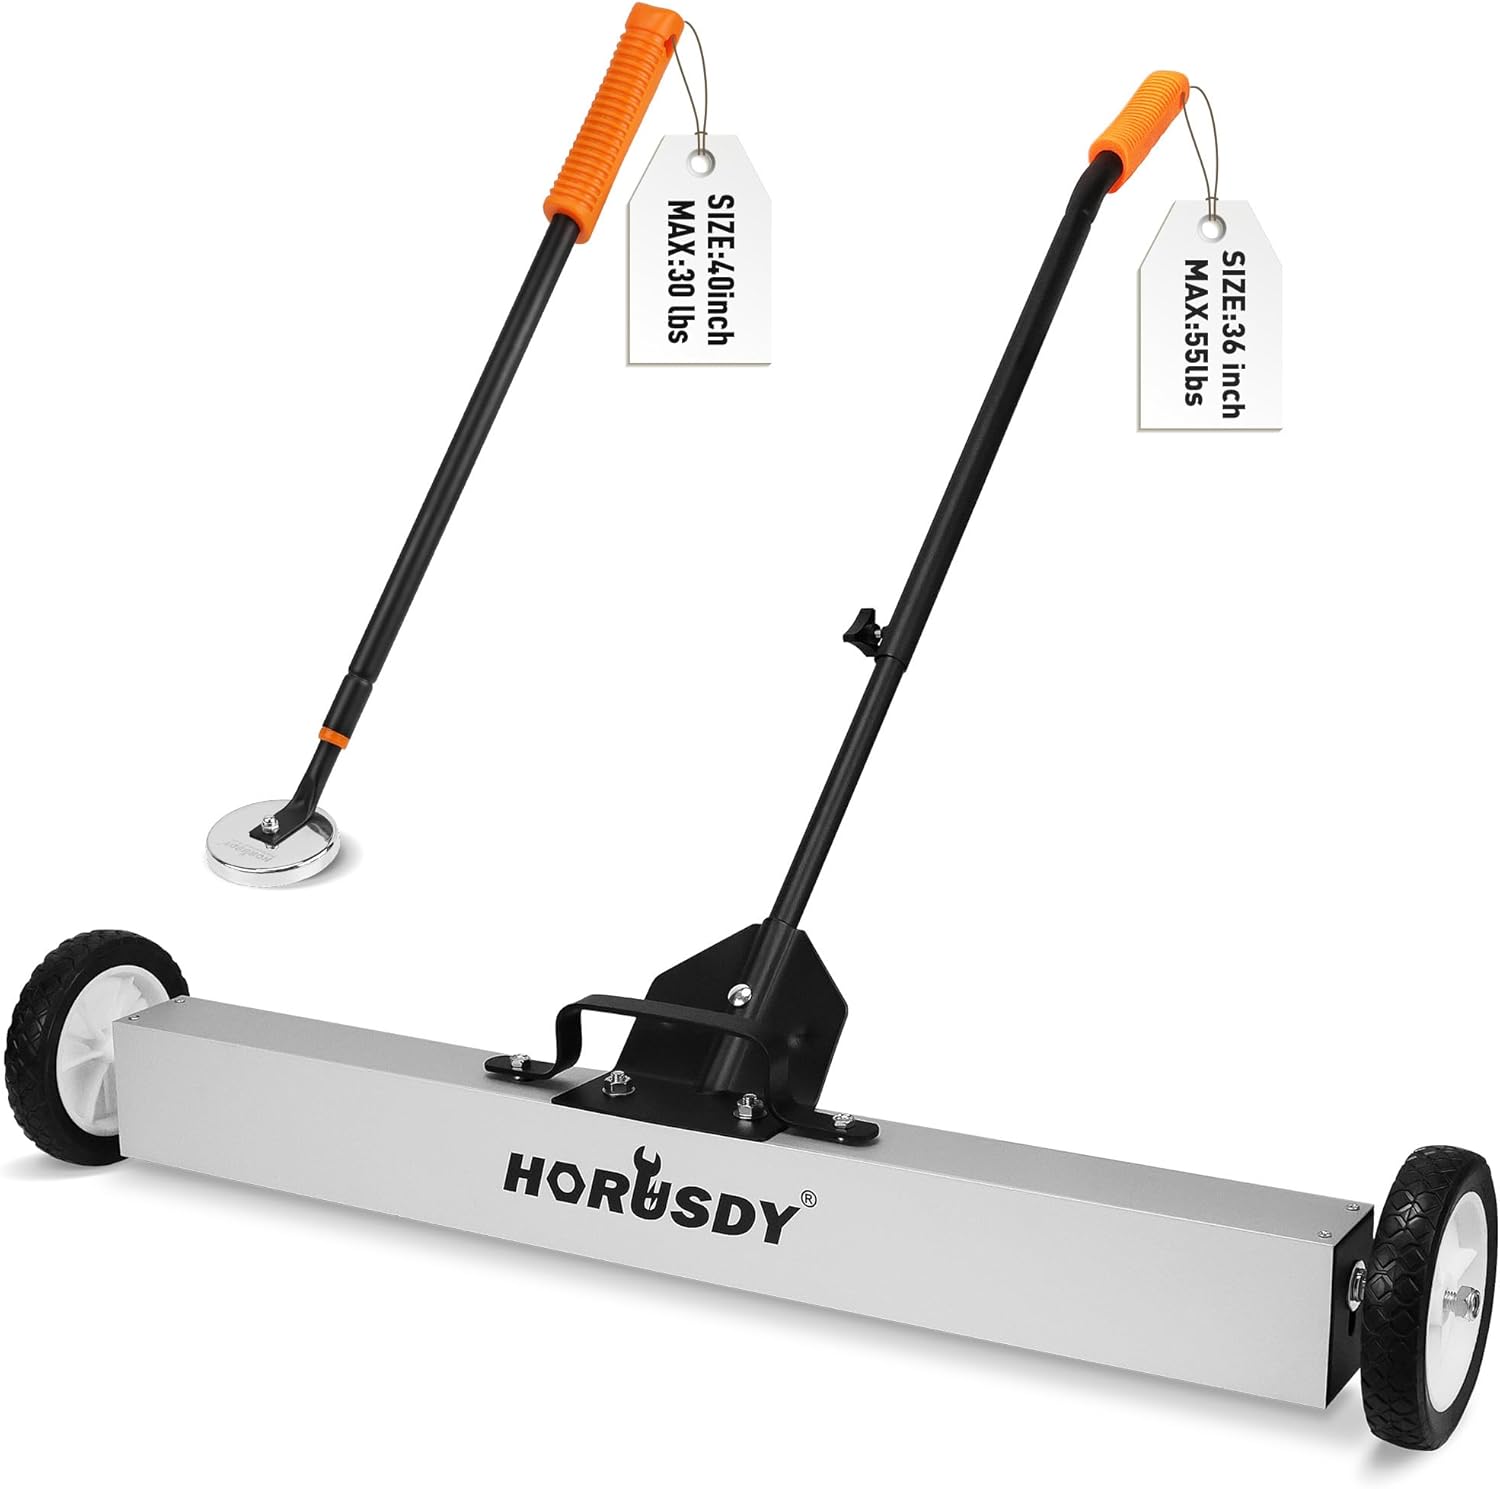 |
Rolling Magnetic Sweeper | Nail Pickup | 24" width, Release lever, Collects roofing nails | Buy on Amazon |
 |
Roof Debris Chute | Disposal | Connects multiple sections, Directs to dumpster | Buy on Amazon |
 |
Shop Vac with HEPA Filter | Cleanup | Wet/dry, Fine particle filter, Gutter cleaning | Buy on Amazon |
💡 Pro Tip: Run the magnetic sweeper over the entire work area multiple times in different patterns - nails hide in grass and can cause flat tires for months
Browse All: Roofing Cleanup Tools on Amazon
❓ Frequently Asked Questions - Roof Repair Tools
Get the Right Tools for Your Roof Repair
Ready to tackle your roof repair project? Browse our recommended professional-grade tools including nailers, shingle removers, safety equipment, and repair materials. All products selected for durability in Georgia's demanding climate.